Installing gutters is a necessary step in protecting your home from water damage. Gutters channel rainwater away from your roof and foundation, preventing issues such as flooding, erosion, and mold growth. While professional gutter installation can be expensive, this DIY guide will help you save money by teaching you how to install gutters yourself. With the right tools, materials, and patience, you can handle this project with ease.
Here is a step-by-step guide to help you with your gutter installation.
Tools and Materials Needed for Gutter Installation
Before beginning your gutter installation, it is important to gather all the necessary tools and materials. The list includes:
Gutter sections: These come in various materials, such as aluminum, vinyl, or steel. Make sure to choose the right size and material for your home.
Gutter hangers: These support the gutters and ensure they are securely attached to the roofline.
Downspouts: These direct water from the gutters to the ground.
Measuring tape: To measure the length of gutters needed.
Level: To ensure proper slope for water flow.
Hacksaw or power cutter: For cutting the gutter sections to the correct length.
Drill: To install the hangers and downspouts.
Screws: For attaching the gutter hangers.
Gutter sealant: To seal the joints and prevent leaks.
Ladder: To reach the roofline safely.
Safety gear: Gloves, eye protection, and non-slip shoes are essential for safety during the installation process.
Step 1: Measure and Plan
The first step in any gutter installation project is to measure the roofline to determine how much gutter material you need. Start by measuring the length of each side of your roof where the gutters will be installed. If your roofline has multiple angles or sections, measure each section individually.
Next, plan the slope of the gutters. The slope should be about 1/4 inch for every 10 feet of gutter to ensure that water flows toward the downspouts. Use a level to mark the correct angle along the roofline. A slight slope will allow the water to flow naturally toward the downspouts, preventing pooling in the gutters.
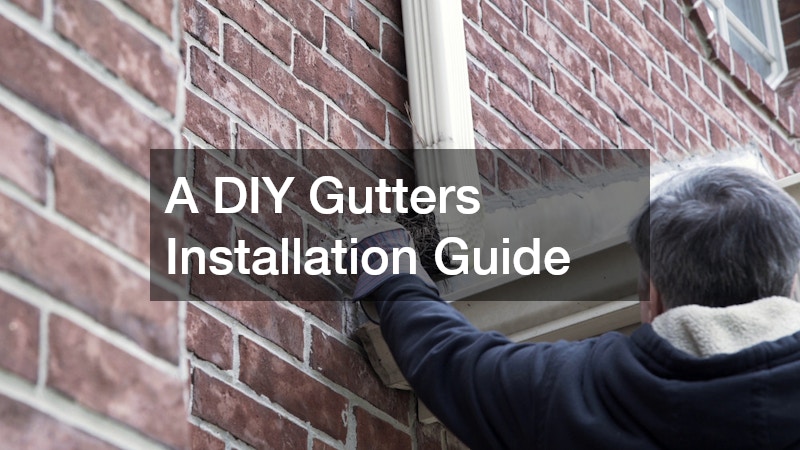
Step 2: Install Gutter Hangers
Once you have your measurements and slope determined, it’s time to install the gutter hangers. Gutter hangers are designed to support the gutters and keep them securely attached to the roofline.
Start by positioning the hangers every 2 feet along the roofline. Use a drill to attach the hangers to the fascia (the board that runs along the edge of the roof). Be sure to install the hangers at the marked slope, so the gutters will have the proper angle.
If your gutters come with a built-in hanger system, follow the manufacturer’s instructions for installation. Some systems require you to snap the gutter sections into place after securing the hangers.
Step 3: Cut and Attach the Gutter Sections
With the hangers in place, it’s time to cut your gutter sections to fit the length of the roofline. Measure each section of gutter and mark the cutting points before using a hacksaw or power cutter to trim the gutters to the correct size.
Once your gutter sections are cut to length, carefully slide them into the gutter hangers. Secure the gutters in place by attaching them to the hangers using screws or clips, depending on the gutter system you’re using. Be sure the seams are properly aligned, and use a gutter sealant to seal the joints to prevent leaks.
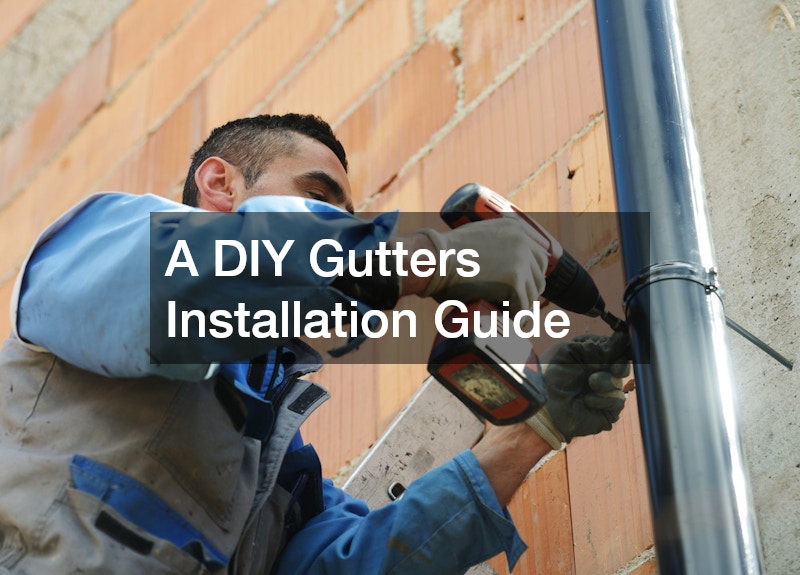
Step 4: Install the Downspouts
Downspouts are essential for channeling water away from your foundation. After the gutters are securely attached, it’s time to install the downspouts.
Measure and cut the downspouts to the desired length. Make sure the bottom of the downspouts directs water at least 3 to 4 feet away from your foundation to prevent water damage. Attach the downspouts to the gutter system using elbow joints, and secure them to the wall of your home with brackets. Ensure the downspouts are securely attached and aligned with the gutter sections.
Step 5: Test the Gutters
Once the gutter system is completely installed, it’s time to test it. Use a hose to simulate rainfall and check the water flow. Watch for any signs of leakage at the joints and seams. If you notice any leaks, apply more gutter sealant to those areas.
Check the downspouts to make sure they’re functioning properly and that water is flowing away from your home. Adjust the slope of the gutters if necessary to ensure that the water flows smoothly toward the downspouts.
Step 6: Regular Maintenance
Your new gutters will require regular maintenance to keep them working efficiently. Clean the gutters at least twice a year to remove debris such as leaves, twigs, and dirt. Clogged gutters can cause water to overflow, potentially damaging your home’s foundation or roof.
During your routine maintenance, also check the gutters for any loose hangers or screws. Tighten them as necessary and reapply sealant to any areas that show signs of wear.
Conclusion
Gutter installation is an essential home improvement project that can help protect your home from water damage. By following this DIY guide, you can install gutters that will direct rainwater away from your home and keep your foundation safe. Remember to measure carefully, ensure a proper slope, and check the system for leaks and proper water flow. With the right tools, materials, and effort, you can complete the gutter installation successfully, saving both time and money.