It seems like year after year, scientists are coming out with predictions of the earth’s demise. While the year varies depending on the source, one thing is certain: WE NEED TO SAVE OUR PLANET.
Our reliance on big oil for our energy needs just isn’t sustainable anymore, and in a couple of decades, this reliance will ultimately spell our doom. Yes, countries around the world are encouraging private and commercial properties to go green using tax incentives, and indeed a few companies have taken up this offer. But more needs to be done.
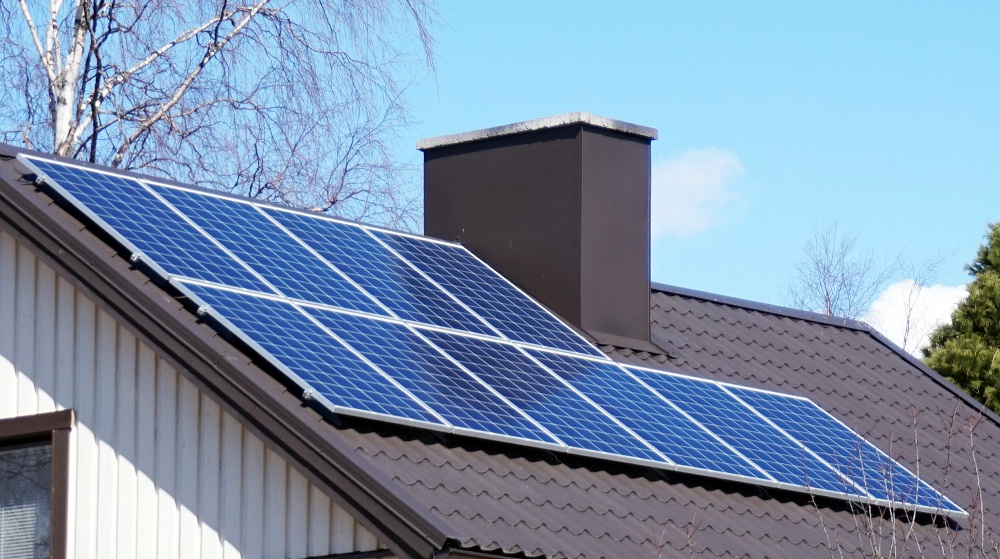
Private homeowners NEED to lessen our reliance on dirty energy. But how do we do so? One of the best ways is to use the most reliable energy of all: the sun. But at the moment, large-scale solar energy collection remains out of reach for most homeowners, with expensive solar arrays being made available to the rich and famous.
So, what can we common folk do? Why, build our own of course!
Creating your own solar panel array might seem a bit costly, but it in fact saves you money in the long run. And if you’re a DIY enthusiast, you most likely already have the skills necessary to mount, wire, and deploy a solar panel system right in your very home.
Step 1: Hit Up the Internet
 The best place to get a cheap solar cell is on the internet. By and large, most of the solar cells being sold from Chinese and Japanese sellers are fairly efficient (although their lifespan is questionable), while American ones can guarantee high quality, high performance, but also a really high price. Of course, caveat emptor.
Figure out your budget and try to find solar cells that are within your means. Do your research and find the most wattage-per-dollar that you can afford. Remember: DIY solar panels don’t have to be the best of the best, they just need to do their jobs well.
Step 2: Get the Right Tools for the Job
Now that you have your solar cells, you need to attach them to some kind of mounting device. For DIY enthusiasts, a simple wooden board is not only effective but easily accessible (you probably have a bunch of those lying around the workshop!).
To mount the cells, you’ll need:
- Soldering tools (iron, paste or flux, and solder)
- Saw
- Multimeter (to measure voltage, amperage, and other electrical needs)
- Pencil and Ruler (to measure out your board for cutting)
- Protective Gear (Glasses, apron, and gloves. Doesn’t matter how big or small the project, you should always practice safety!)
Step 3: Mount Up
 Before mounting, make sure you have all your schematics and electrical mapping on hand, just so you don’t leave anything halfway.
To mount the cells, place them on the board and draw separating lines using your pencil. Then, drill holes on the board where you can thread wires.
Once you’ve arranged the cells the way you want, solder wires to the solar cells and then connect the cells to each other. To do this, link the cells in series, with the positive lead of one cell being soldered to the negative cell of another, and so on and so forth. The more cells you link, the more voltage you generate. Create connection buses along both positive and negative leads. Connect the thicker bus wire parallel to the cells. This increases your amperage.
Do this until you have enough cells to generate 12 to 24 volts, anything less and you’ll have an inefficient array, and anything more brings you to dangerous levels of voltage. 12 volts is enough to start a 12v inverter (which is necessary for generating 110/220V).
Once you have your cells linked, glue them onto the board. Having a frame can help you insert the cells individually and makes it easier for you to replace any broken or defective cells.
Step 4: Testing
Now that you have your cells mounted into a solar panel, take it outside for testing. Find a nice, bright, sunny place and put your solar panel under the sun. Use your multimeter to measure the voltage and the short-circuit amperage.
 Once your ammeter reads at least 12V (or 9amps), you’re good to go! This type of panel can be used to power electronics and appliances that run on a DC current. It can also be used to charge batteries, cellphones, and so on and so forth.
As soon as you determine that your solar panel can generate power, you need to connect it to a battery pack and then to an inverter. For your batteries, lead-acid type batteries can be used, but it is advisable (and, indeed, safer) to use batteries that are specifically made for long-term power storage and deep cycle use. A computer UPS, or uninterruptible power source, can be used as an inverter and is very useful in this case, although more power would require a larger inverter.
So that’s it, you’ve just created your own solar panel system. Obviously, more solar panels equal more power, and solar paneling for a house can cost upwards $1000. Of course, you can use your newfound skills to augment your renewable energy system with a wind turbine or a micro hydropower system, although that would cost you. This may seem expensive, but if done correctly, it means you can live free of the power grid. Forever.
And if that isn’t the definition of “self-sustaining”, then I don’t know what is. Well, what are you waiting for? Get your boots on!


