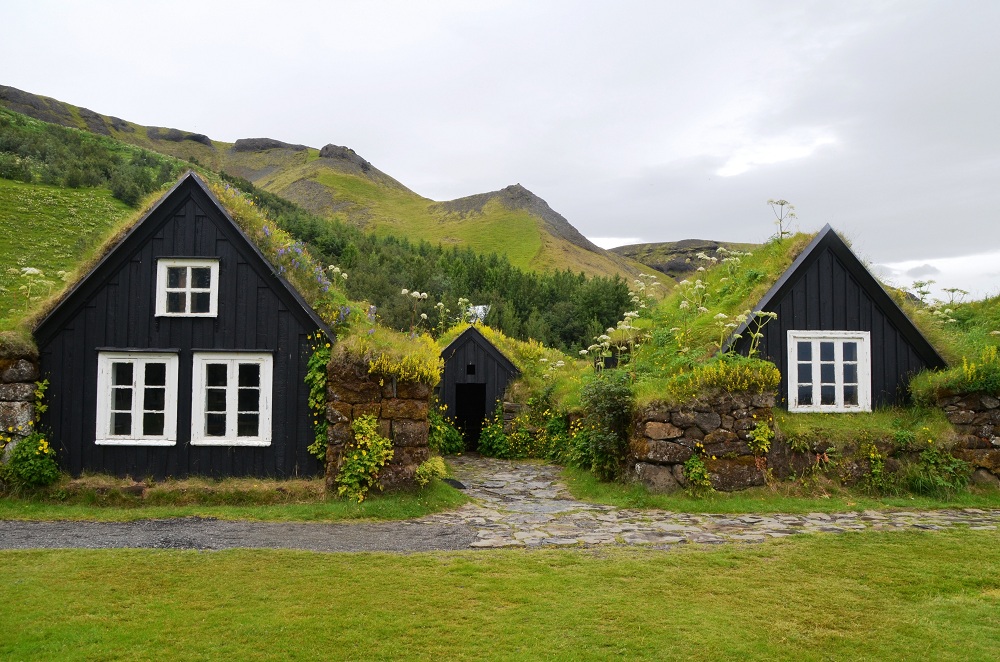
Green roofs are becoming a popular option for people who are looking to enrich their lives with greenery but have limited space. Green roofs have a plethora of benefits: they act as natural air filters, provide you with cooler airflow, and can even be modified to help you grow certain produce like fruits, vegetables, or herbs.
Installing a green roof on your home, however, requires a few things.
Step 1: Strong Roof
Before attempting to install a green roof, you need to make sure that your roof is strong, and I mean REAL strong. A green roof can weigh up to 300lbs per square meter. Strengthen your roof with a steel frame and multiple joists just to be safe.
Step 2: Design
 Green roofs can range from simple gardens with grass and troughs for herb planting, to full-on worlds with fountains, trees, and ponds.
Regardless of what type of green roof you decide to make, you need to have certain essentials for your plants to thrive:
- Ample space
- Rich soil
- An irrigation system that keeps your plants moist during dry days
- A drainage system to make sure your plants don’t get TOO wet (as this can lead to root rot)
- Compost
You also need to take certain steps to ensure that your roof remains undamaged. Some essentials:
- Pond liners: this prevents any of the plant material or water from damaging the surface of the roof itself.
- Gravel: enough to cover the pond liners.
- Root Membrane: this stops weeds and other unsightly plants from growing on the roof. It also stops plant roots, mud, and other unwanted materials from getting to the pond liner.
- Moisture Blanket: keeps the soil moist during dry and hot days. You can augment these with wood chips.
Figure out what your garden roof will be before construction, taking into account the strength of your roof. Consult your local handyman about your roof strength.
Step 3: Installing the Base
 Every garden needs a solid foundation for it to take root. To ensure that your roots stay in place, start by:
- Measure out your roof and roll out enough insulation to cover the entire surface.
- Cover the surface with a layer of the pond liner, making sure to secure it by tucking it under leadings at the edge of the roof. This makes sure that rain water collects IN the pond liner and NOT UNDER. Cut out any spare but leave a 5-10 inch lip around the edge. You can use the cutout spares under the roof drainage. Repeat the whole thing with a separate layer of pond liner.
- Pour gravel onto the liner, making sure to get a single layer over the entire roof. Brush into place.
- Roll out the root membrane over the gravel. This extra layer of protection ensures that plant roots and mud do not penetrate the pond liner.
- Add another layer of gravel. This layer should be slightly thicker than the one underneath the root membrane.
Step 4: Planting Your Garden
 Once you have the base for your garden roof, it’s time to set up the soil:
- Roll out your moisture blanket, making sure to keep 5-10 inches of space around the edge. You can use old towels or sacks as a moisture blanket, but these tend to rot. Buy a good qualitymoisture blanket from your local gardening store.
- Apply a layer of small stones over the moisture blanket. This is to help anchor it in place.
- Apply a layer of large gravel or pebbles around the edges. This ensures that the bottom drains efficiently and stops any plats from growing into the building.
- Seal the pond liner to the edge of the building using flash tape. This ensures that water does not get under the pond liner, thus stopping any damage on the roof.
- Roll out a layer of bark. This adds an extra level of dampness to help the soil stay hydrated.When buying bark, make sure it has not been chemically treated, as these may have an adverse effect on the plants.
- Set your compost on the bark in piles, then use a rake to spread it around, making sure to cover the entire surface. Repeat this step with your top soil.
- Stomp down on the soil until it’s firm.
- Set up paving slabs. This allows you to walk around without stepping on your plants.
- Pick out your plants. Place them on the surface of the soil to get a feel for their spacing. Once you’ve figured out how to space your plants effectively, dig a hole and bed them. Keep them in reasonably-sized patches and make sure to let them spread
A Few Notes
Garden roofs require weeding throughout the spreading process. This is a crucial stage of your garden as this is when the plants start filling in the gaps in the surface. It’s an easy enough process that takes no more than a few minutes.
You can install a simple irrigation system and let the water run for half an hour every day, depending on the weather.
Remember: gardening is a constant process, and if some of your plants do not make it, it’s ok. Focus your energies on the ones that are thriving, and in due time, your garden will become self-sufficient.